Notifications
Choose who needs to get notified when and how.
Choose who needs to get notified when and how.
We wanted to make Semonto as user-friendly as possible. So even if you don’t touch any alert settings, you will automatically be notified by mail whenever something happens to your site or server. You only need to edit the settings or create contact groups if you want to change or add notifications, which is something our advanced users will enjoy.
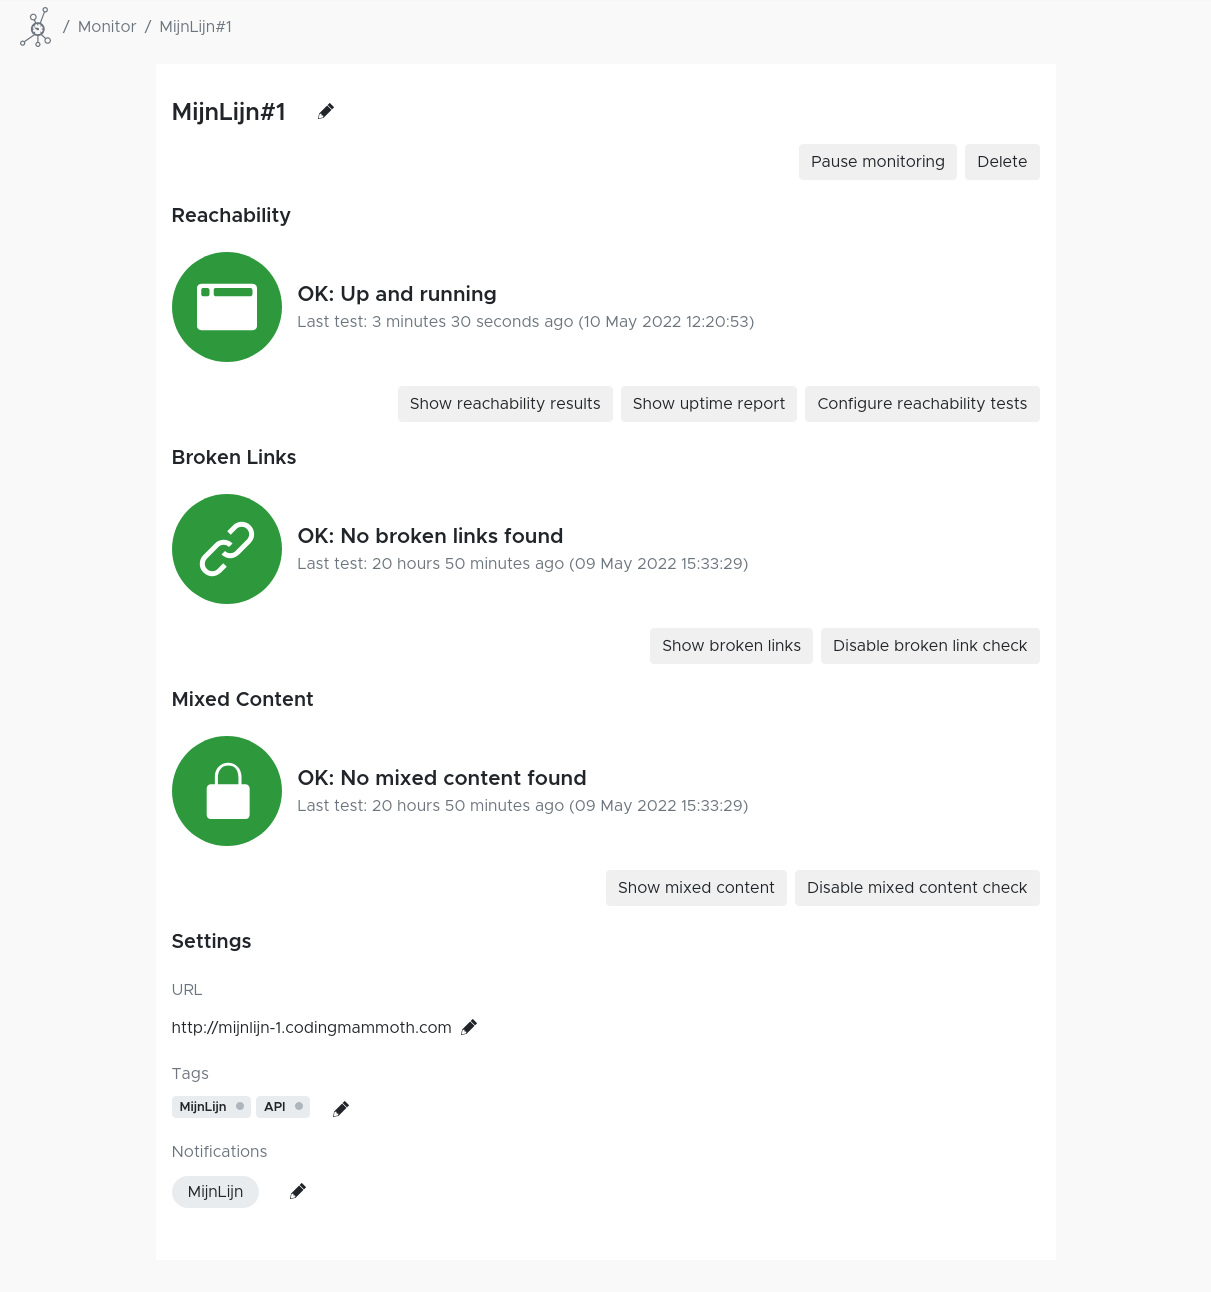
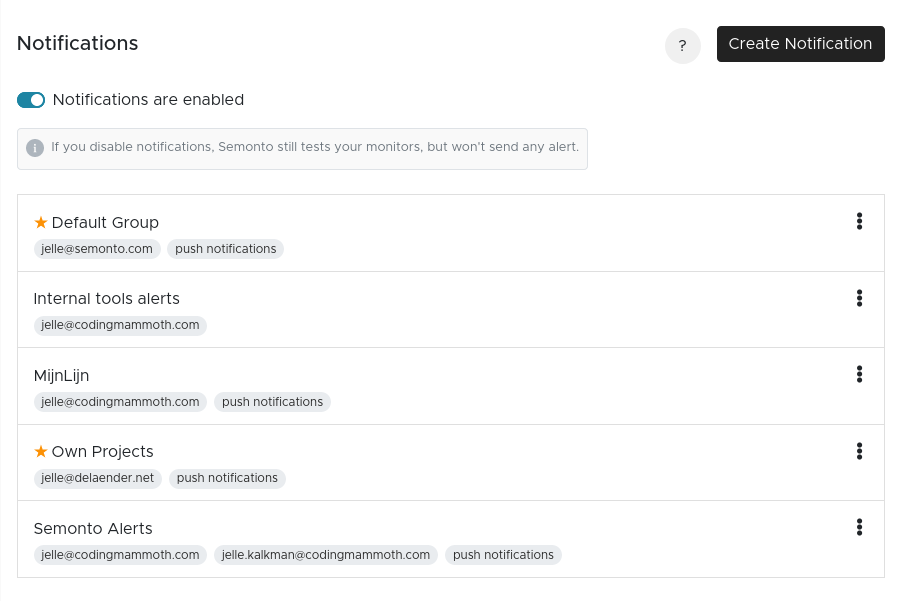
If you want to change the way you are notified for a certain monitor, select ‘Notifications’ in the menu and select the monitor or group you want to edit.
When you monitor a website, app or server, you want to make sure that you are notified when something goes wrong. But maybe you are not the only one who needs to be kept in the loop. With Semonto, you can automatically send out alerts of all your projects to all parties involved: clients, board members, colleagues or departments. You decide who gets alerted about what. This saves you a lot of time since you do not need to manually inform everyone anymore.
Notifications per project: If you are working on an app together with 4 colleagues, you can create a contact group for this project so that all team members receive a message when the app goes offline.
Notifications per priority: You can create a contact group for high-priority monitors and one for low-priority monitors so that you get alerted by push notification for important issues and by e-mail for low-priority issues.
Notifications per server: For example: imagine that you are a web developer. You create websites for customers. Half of your websites are hosted by company A and the other half is hosted by company B. Then you can create two different contact groups. Whenever an issue is detected with one of the websites, the correct hosting partner will automatically be alerted.
Whatever you can think of. You can organize your monitors and notifications any way you want.
Inside a contact group, you can select the way you want to get notified. You can select more than one notification method per group.
For example:
You have created a contact group for all the team members who are working for a certain client. You can then add all the PulseChecks and monitors for that client, so that all the team members get notified of any issues. If one person decides to leave the team, or a new person joins the team, you can simply add or remove their mail address. This is a lot easier than manually having to configure the alert settings for all the affected monitors.
Inside a contact group, you can select the way you want to get notified. You can select more than one notification method per group.
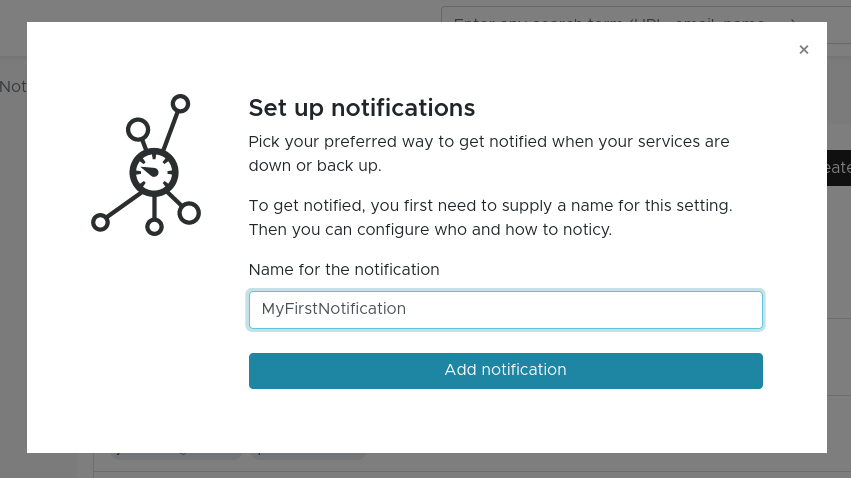
Just enter the e-mail address of the person(s) who need to get notified. You can also add a personal message that will be included in the footer of the notification email.
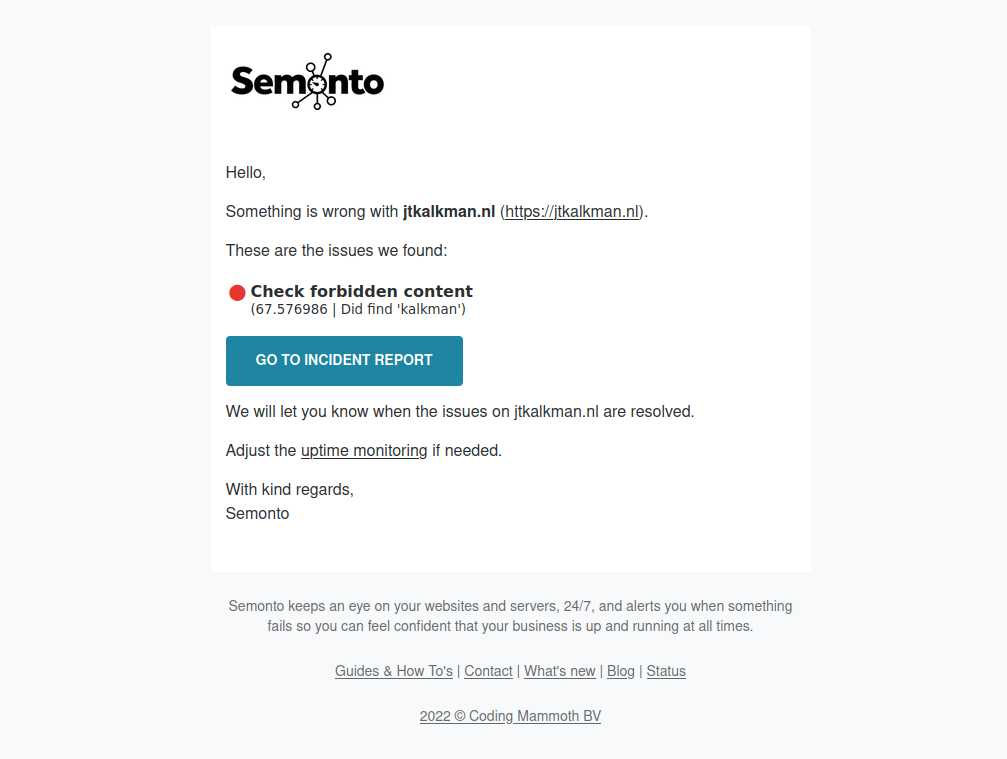
This is what a notification email looks like:
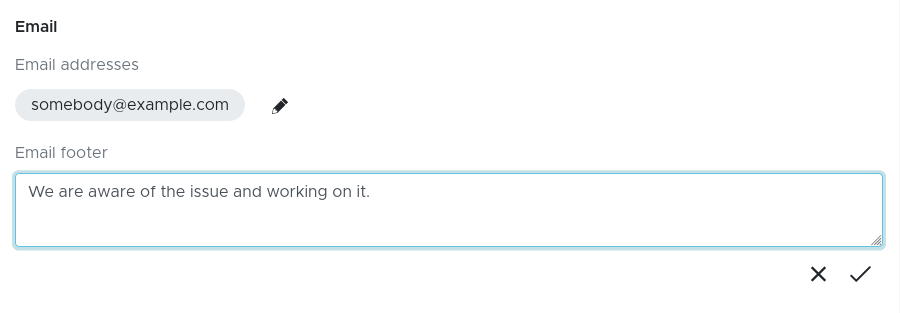
But you also add a personalized message like this like:
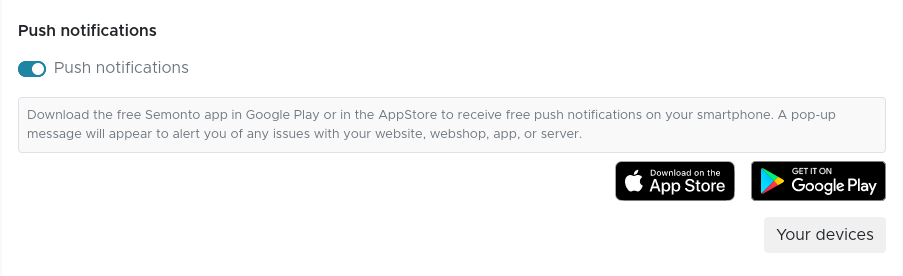
If you have installed the Semonto app on your smartphone, you can enable push notifications to receive notifications straight on your phone.
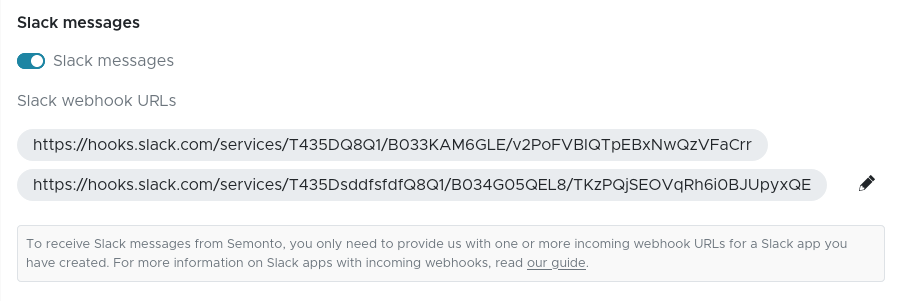
You can also receive Semonto notifications straight in your favourite Slack channel. Send notifications to multiple Slack channels or even multiple Slack accounts and organize your workspace the way you like it. Check our easy guide to get started.
If you want to receive an SMS when something goes wrong, enter your mobile phone number. You can add more than one number. In order to receive SMS-messages, you need to purchase credits. Go to Your SMSes in the main navigation menu to purchase credits.
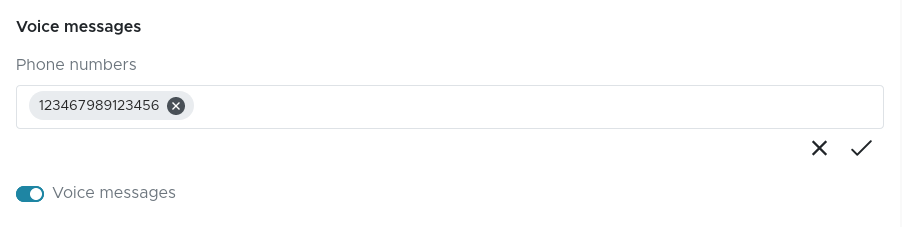
We can also notify you by calling your phone and leaving an automated voice message. This is especially interesting for crucial services of which you want to be notified immediately wherever you are. Just enter your phone number and enable voice messages to activate this service. Credits are required. You can buy them in the SMS tab in the main navigation.
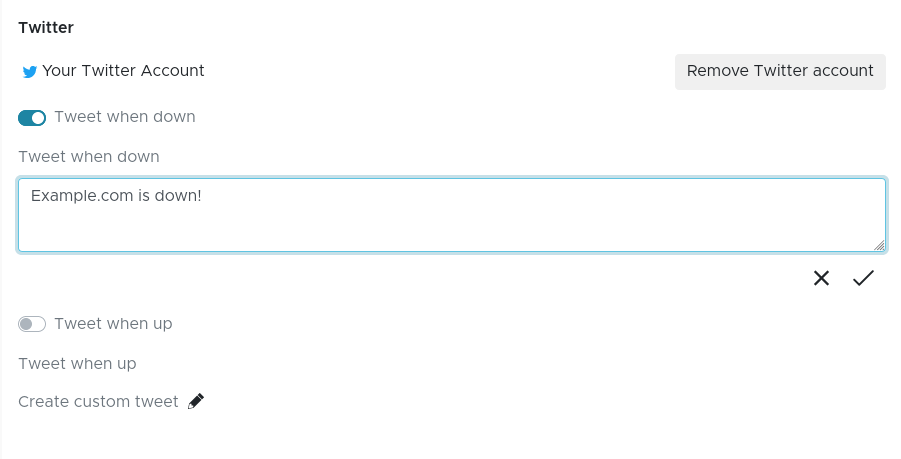
Click on “Twitter account” to connect your Semonto dashboard to your Twitter account. Semonto will then automatically send out a Tweet when issues occur. You can write your own personal message.
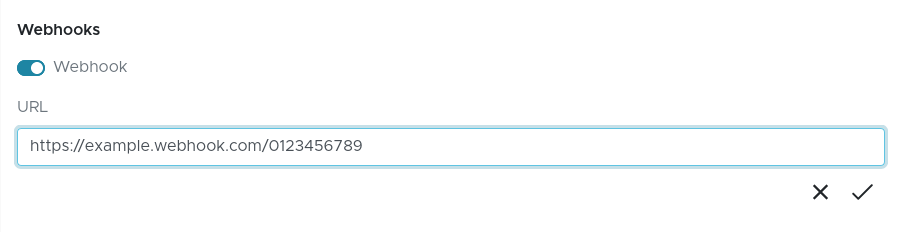
You can also create webhooks that are triggered when a specific event happens. This allows you to execute exactly the task you want like custom notifications.
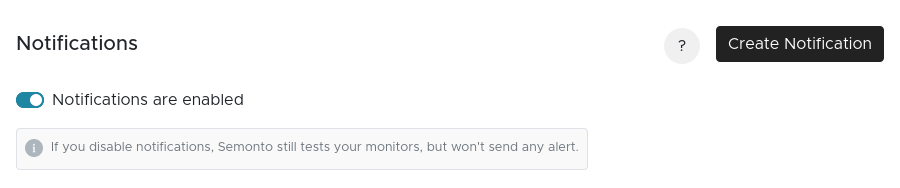
You can temporarily pause your notifications to avoid getting flooded with downtime messages during planned maintenance. To pause notifications, use the switch on top of the Notifications page. If you disable notifications, Semonto will still test your monitors, but won't send any alert.
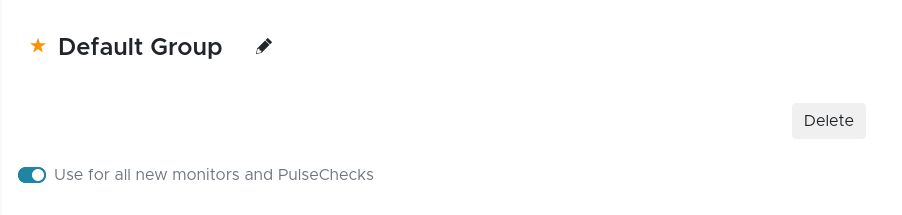
If you want to reuse notification settings, you can mark your preferred notification settings as default. The settings will then automatically be applied when you create a new monitor or PulseCheck. When you are creating or editing your notification settings, you will see a switch at the top of the page called “Use for all new monitors and PulseChecks”. Activate the switch to mark your notification settings as default.